Sunday, March 24, 2013

LifeBook 2013 Week 12 Connections


My new life book 2013 page for lesson 12. Mindy Lacefield  taught this class on Connections. This one was a hard one for me in the "life lesson" part, the art part was a little challenging as well as it didn't turn out like I had envisioned it. But close to what her's was like an using her style and techniques.  I love the quote I pasted to this lesson...it really speaks to me. "You are a piece of the puzzle of someone else's life. Life may never know where you fit, but others will fill the holes in their lives with pieces of you." I would love to think it true....

Saturday, March 23, 2013

Vintage Cream Black and White Live Laugh Love Scrapbook Album

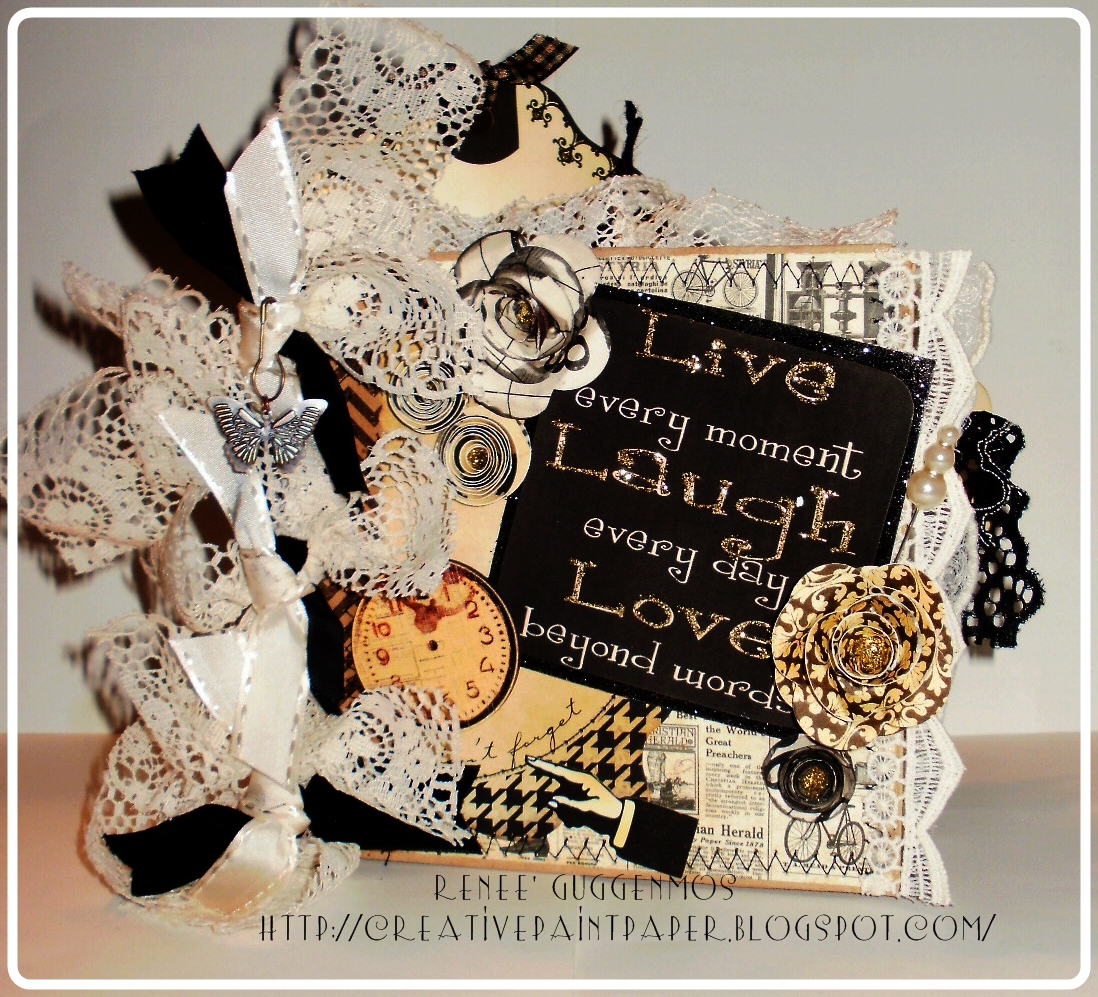
 5x5 Vintage theme paper bag scrapbook album. Lots of lace, ribbon and gold stickles, embelishments! Rolled flowers through out. 
 First two pages, a photo page and a journaling page. lace, cut flowers and rolled flowers with gold brad, gold stickles for a pop of shine!
 Another jounaling page, a large tag to add a photo too or more journaling all machine sewing through out and inked aged edges through out this album. 
 photo placement on back of the large tag, a pocket page with 2 tags, tuck some photos in the pocket and journal away on the tags. Stickles embellised heart with glitter paper behind, pretty rolled flower.
 Large photo page just slip into the corner tab, added lace and stamping adds some charm to the page, another large tag for photos or journaling.
 more journaling space on back of tag or room for a photos, another photo page with a corner tab making it easy to add your photos. 
 Pocket page with 2 tags, one with a metal key and an aged tag with stamping. small envelope with small tag added to the pocket , embellished with rolled flower and cute key hole die cut. Another large tag, adorned with more stickles embellishment for some shine...and a ribbon with a tim holtz pin easy way to pop a picture in behind it. 

 Picture placement on back of large tag, adorned with rolled flowers and lace.  On other pages another large picture placement area. 
Large pocket page with Bingo card tag. Library card pocket with a medium tag, cute bird cage stamp with more stickles embellisment. 
Pocket tag journaling spot on the back, and another large picture page with a velvet ribbon to put your picture in behind. stamping, lace and another pretty rolled flower!
You will find this album in my etsy shop if it hasn't sold before i get it over there! Thanks for stopping by! 

Sunday, March 17, 2013

New Style Bill Organizer

 12 month Bill Organizer I made for a special client.  I was going to just put some pockets in a comp notebook but decided to take it apart and make it lay more flat and have easier access to all the pages. I cut it in half and punched holes and added the rings.  I used a variety of papers from my stash that coordinated with the main piece i chose, the cute bird print.  I went with a shabby chic style....added some paint to the rolled flowers and edges of  the papers, some lace and a cute tiddly inks image that i colored with promarkers.  The client will be able to use the organizer for years. I have added extra pages in each month, pockets stand alone for easier access...machine sewing through out to make it sturdy. 
 Here is the front cover with a pocket, the stand along pocket for januarys bills, and page behind to list bills and make notes as shown below. 
 One of the pages with the tab. there are tabs for all 12 months, one for savings, one for dreams and one for misc. 
 Organizer standing up
Side view with the tabs and to show the thinkness. 
I am going to make another i think and list it on my Etsy if anyone is interested in one, they will be selling for $35 plus shipping. 

Sunday, March 10, 2013

Spring is Coming...Time for Gardening......!


Spring is in the air...(yeah right...we had a blizzard last night!) But I did get this little Garden Journal made up for when spring DOES arrive! I will be posted it to my etsy store, if it is not sold before i get it there! I took a 9x7 Composition notebook and primed and painted it white front and back covers inside and out.  I punched 2 holes front and back and added the ribbon to keep it closed once its packed full of seeds, pictures, saved receipts and warranties for plants...! I added some burlap that i added a bit of modpodge to so that i would not fray. Hot glued it to the cover. I used my MY MINDS EYE papers Gnome sweet Gnome. I so love these papers so dang cute!! A little bird and next and some butterflies i cut and colored and added some stickles too.I inked the edges for a grungy look so it looks like you have already had it out in your garden with you! Inside the front cover i added a large pocket for seeds, and the back cover has 2 pockets to put your receipts in! I added 7 tabs to the pages so that you can lable them to fit your needs, for your plot layouts, your wish list, plants planted, when you fertilized and need to again..that sort of idea... I think its fun and i love it!

Lifebook Lesson 10

This past weeks lifebook lesson was taught by Tamara Laporte. Just love her. She is so artistic and just fun to listen too! We did the paper rolling technique into a heart shape. The main page was to use acrylic paints with pretty much pure alcohol but i did not have any...but in the end it gets covered up anyways so i just painted my back ground with some different colors and then i used my brayer as well, a flower stamp and leaf backround stamp and my cursive stamp as well.  In the back ground we were to write people or things we are grateful for and write a little sentence with each, they were to get covered mostly by the paint, but still apart of the background. Then i cut a heart shape. had it ready...i took colored scrapbook papers to coordinate with the colors of my background and then cut into a rectangle then in half on a diagonal...if that makes sense...is that a trapizoid?  anyways each thing i wrote on in the back ground of my paper we were then to write like thankyou's to these people or things that have become apart of our heart....so you write on the papers , roll them up and i stuck them to the heart shape not minding if they stuck over or not...after which all were on there i then just went around the heart shape they were stuck too and cut off the excess. I added some twine with a tag that says..the heart and soul of it all....and doodled around the heart for a bit more pop.   Its fun to do the different techniques and to see what each other member comes up with, no 2 are alike!